Project 1: Animation
NOTE: Please see the Animation section of the ‘Resources’ page for more detailed information on everything you need to know about Animation. Follow the link: Resources tab – digital media – animation.
This project is currently in progress, we are working on it now. This is the perfect opportunity to work along side me and follow what I am doing.
We are working on a Claymation – Claymation meaning stop motion made out of clay (plasticine/mala). There are countless ways to do this and many books to read on the subject. I have bought a lot of books but to be honest I found the best way is to get stuck and learn along the way, trail and error.
Here is a rough list of materials you will need for this project. I only have six students in my class at the moment but when I did this last year in Scotland I had 25, so it can be done, you just need a bit more organisation and equipment – but on the upside you have many more hands to create a great animation.
Materials:
- Plasticine.
- Different gauge wire.
- Scrap wood.
- Saw.
- Sandpaper.
- Pliers.
- Glue gun.
- Pebbles for feet
- Something light for head (ping pong ball/polystyrene etc).
- Knives -Stanley/cutlery.
- Rolling pin and cutting board.
- Any scrap material you can find to fit the purpose you need it for, be inventive.
- Power drill.
Technology:
Hardware
- Digital camera – basic and cheap as possible. mobile phones will work if possible to attach to tripod – web cams will work (have to be attached to computer though). You will need a few of these depending on how many groups your working with, I would recommend at least one camera/tripod for each set of 5 students.
- Cables for uploading photos to computer.
- Tripod.
- PC or Mac computer.
Software:
- Windows movie maker on the PC (comes free already installed with windows) or iMovie on the MAC (also free and installed).

- “I can animate” is an amazing piece of software and it is now available on both platforms (PC and MAC). check out the link here:
I can animate is amazing, it is so simple to use and the students really get an instant understanding of the animation process – I cannot recommend it highly enough – and very cheap.
I ordered my Art supplies from the Specialist Arts ad Crafts online shop, you can follow the link here;

The four videos below were made by the students to gain an understanding of the process of simple movement and editing before moving onto their characters for the main animation.
In the first video they made a ball out of plasticine and moved it across a table with their hands taking pictures with the ‘i can animate software’ on a PC laptop and HD web-cam.
[youtube]http://www.youtube.com/watch?v=bRyGYIKIhMM[/youtube]
In the second Video they repeated the first step but only went half way across the table with the ball. They then duplicated the images and played them in reverse after the last image to return to the start. This was to highlight the use of the technique to speed up the animation process.
[youtube]http://www.youtube.com/watch?v=EN1Q-hMethI[/youtube]
In the third video they got together and created group movement with a few balls from different angles.
[youtube]http://www.youtube.com/watch?v=Yh7Px79LoPY[/youtube]
In this fourth video they created the illusion of the balls morphing into characters.
[youtube]http://www.youtube.com/watch?v=Ty3sKyWDTJg[/youtube]
The students have been working on creating their characters for their animation, there will be updates and videos to follow shortly.
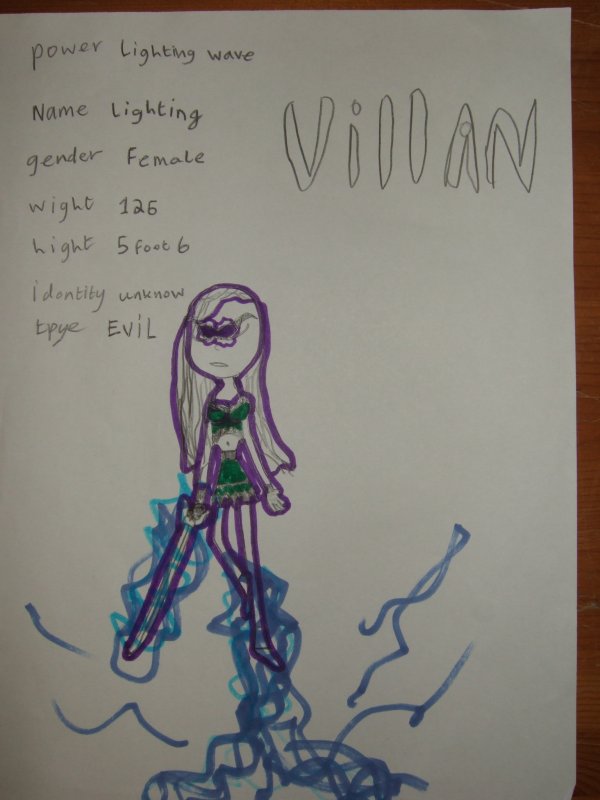
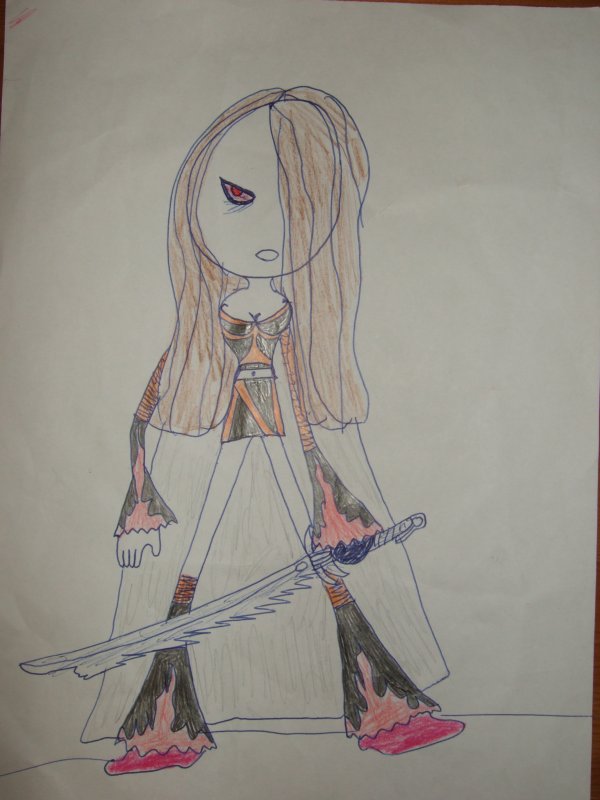
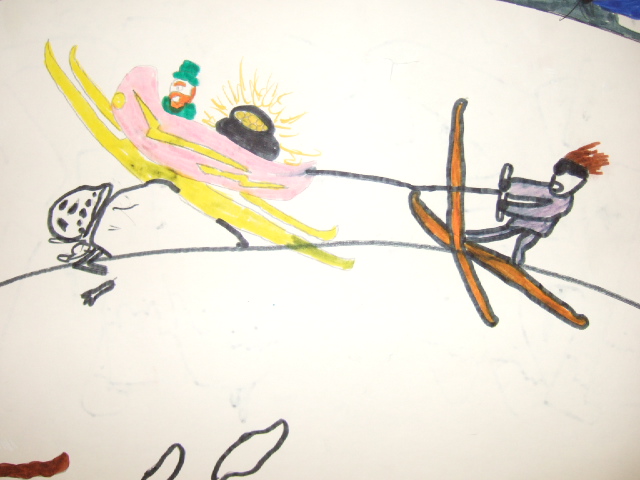
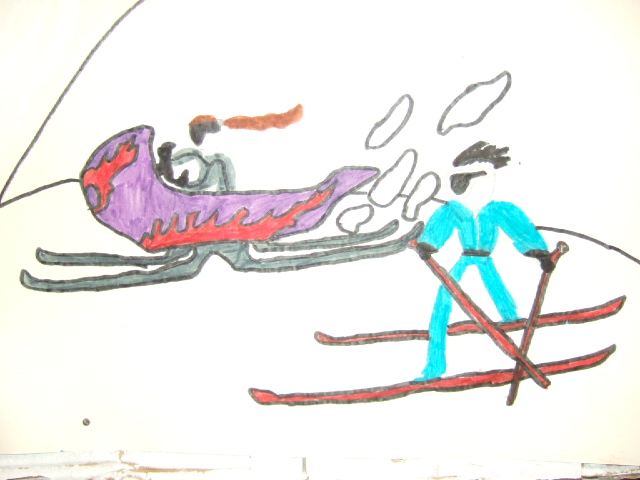
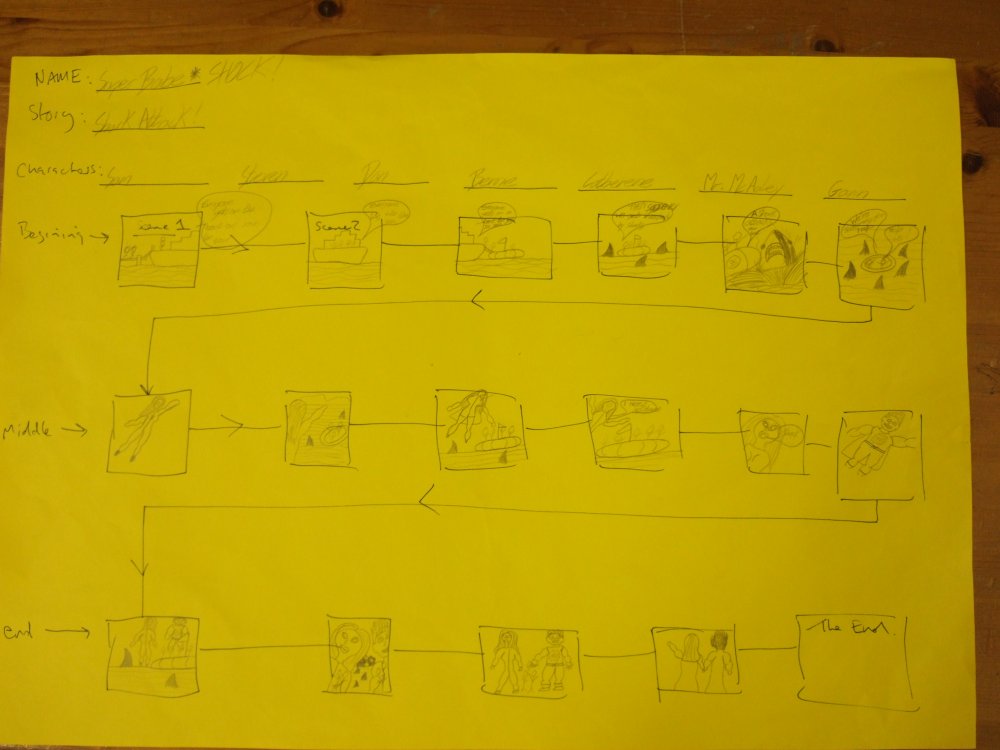
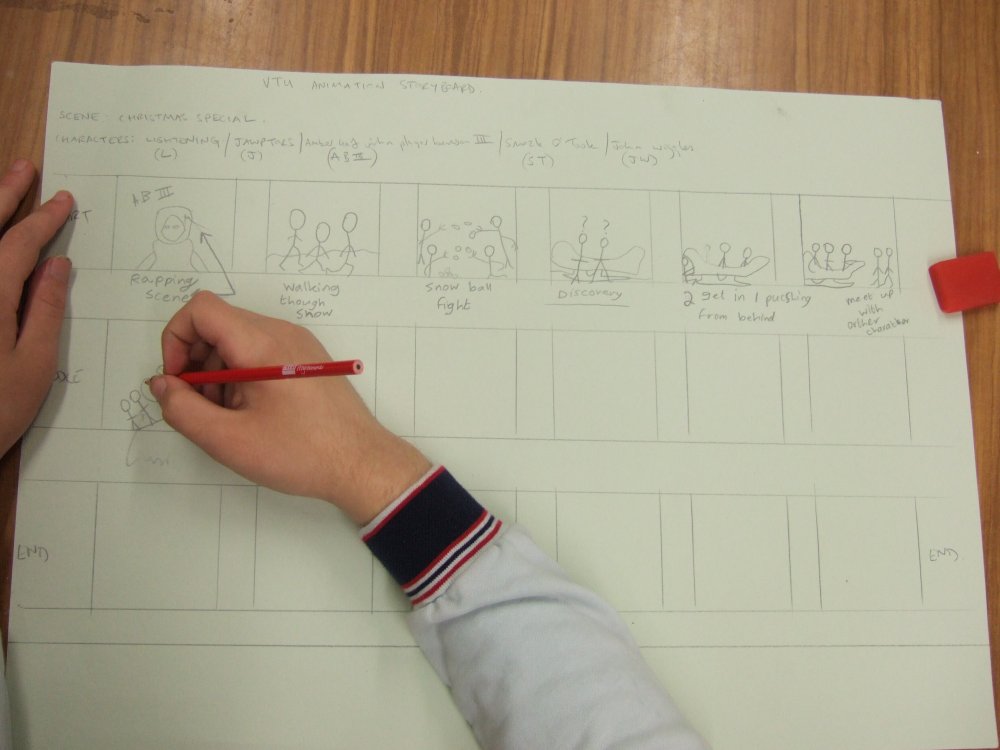
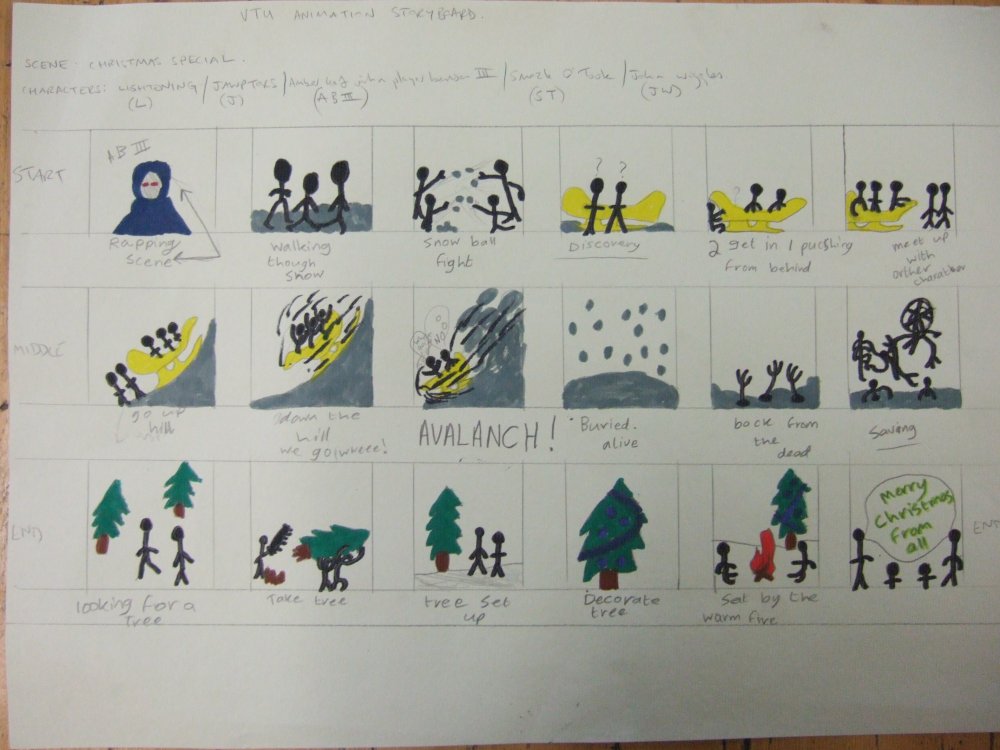
Here are some images from the storyboard:
here are examples of the character building workshop:


here are some images from the set


This takes me back to couple of exciting, creative years ago! I must show it to William, he would be pleased to see it. Keep up the creativity.